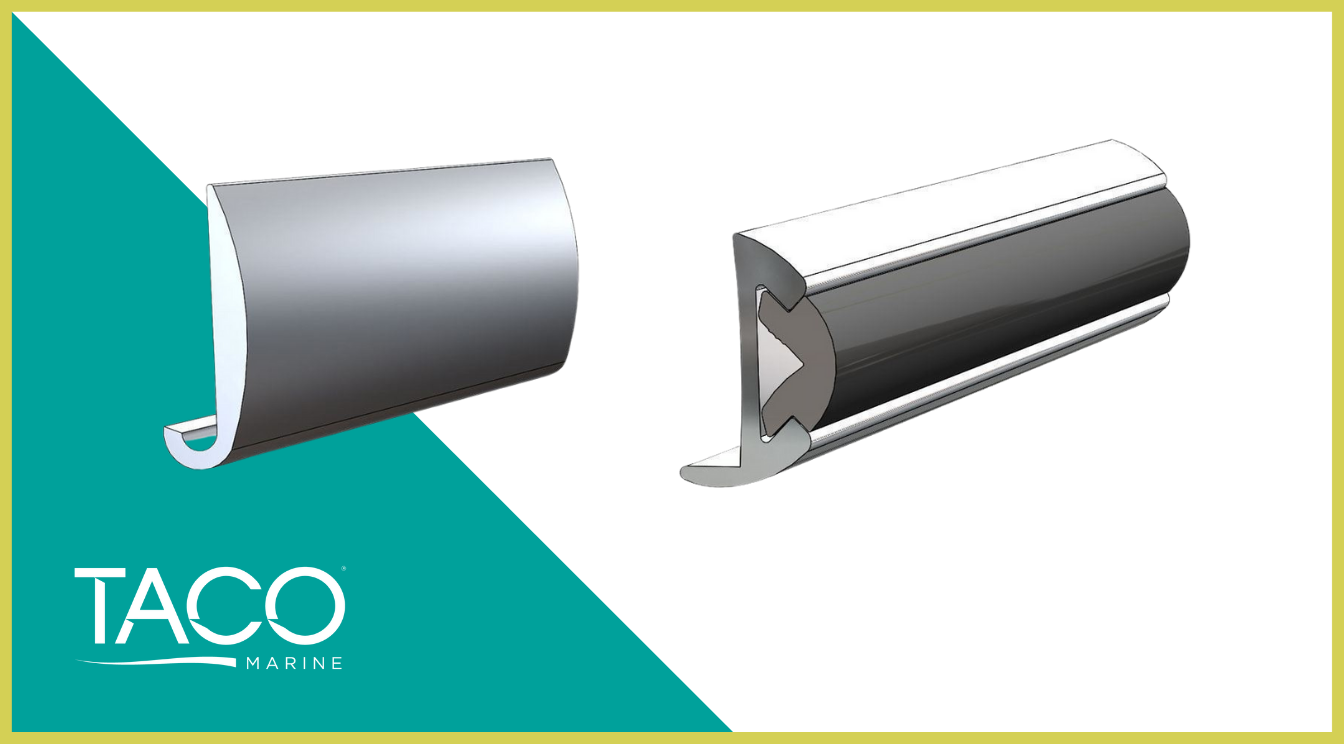
At TACO, we are proud to offer end users a variety of rub rail products, including aluminum rub rail. Boaters choose aluminum rub rail for a plethora of reasons, but appearance is a major factor when choosing this material. Aluminum rub rail is lighter weight than stainless steel rub rail, but still provides a classic, appealing look on boats.
Compared to flexible vinyl rub rail, aluminum rub rail can be more challenging to install. Keep reading for information on how to install aluminum rub rail on your boat. If you have questions about installing aluminum rub rail, comment on this blog or contact our Technical Support team here. We are happy to help make your rub rail installation as simple as possible.
Before you begin, make sure you’re equipped with correct tools and supplies.
Tools Needed:
- Tape measure
- Pencil or pen
- Variable speed drill
- Drill bits
- Caulking gun
- Marine-grade sealant
- Hack saw
- Miter box
- Heat gun
- Rubber mallet
- Stainless steel screws
TACO Pro Tips for Installing Aluminum Rub Rail
- Don’t do this project alone! Two pairs of hands will make installing aluminum rub rail much easier.
- When bending around the transom, have one person heat the rail and the other slowly bend it around. Avoid forcing the material due to inadequate heat.
- Before bending, if the rub rail takes an insert, install about 6" of insert into the bend site to keep the channel from collapsing or losing shape during bending, but do not cut it off the roll, if possible. Donna Mila from Reef Runner Boats demonstrates this tactic in this video using an insert piece with rigid vinyl rub rail that needs to be formed around a 90º bend. The same concept can be applied to aluminum rub rail.
- Before installing the rest of the rub rail, put it up in position and check to see if any pre-drilled holes line up with the filled holes. You will be able to adjust the hole location by cutting off several inches from the end that butts up to the previously installed piece.
- Aluminum rub rail is available in 12- and 20-foot lengths with holes pre-drilled every 6 inches. Some aluminum rub rails incorporate vinyl inserts, while others do not. Explore our entire selection of aluminum rub rail in our store here.
Installation Aluminum Rub Rail Steps
- Place masking tape above or below where the rub rail will go. Using a pencil or pen, mark where the new holes are going to be located, or mark where the filled holes are to avoid them. Note: This should be the first step in all rub rail installations.
- Place the center of the first length on the bow. If a mounting hole is already there, move it to one side 3 inches.
- Press the rub rail against the hull until you come back to one end.
- If any of the holes line up with the filled holes, try adjusting the rub rail a few inches one way or the other. Avoid a hole within two inches of either side of the bow.
- Drill through the pre-drilled holes with a drill bit smaller than the screw.
- Coat the threads with marine-grade sealant or 3M 5200 and install the screw.
- Continue this process up to the bend at the bow.
- Bend the rub rail around the bow by applying steady pressure with one hand while you lightly tap the rub rail with a rubber mallet where you want it to bend.
- Complete the installation of the rest of the rub rail.
- Butt the next length up against the previously installed length. If a hole lines up with a filled hole, cut a few inches off the end in a miter box. This will change the location of the holes.
- Butt the rub rail up against the first length and install this length according to steps 4 and 5 .
- Continue this process until you come back to the other end of the length you installed at the bow. Measure the last length carefully so that it fits tightly and install the screws.






Please login first to add comment. Please click here to login.